If you haven't connected QBO to Pulse yet and you're on the Plus or Premium plan, you can connect by visiting your Settings, then click "Financial Accounts" in the right sidebar and then click the green "Connect to QuickBooks" button.
After Connecting QBO
We import the previous three months of your QBO data directly to Pulse so that you can see more details about your cash on hand.
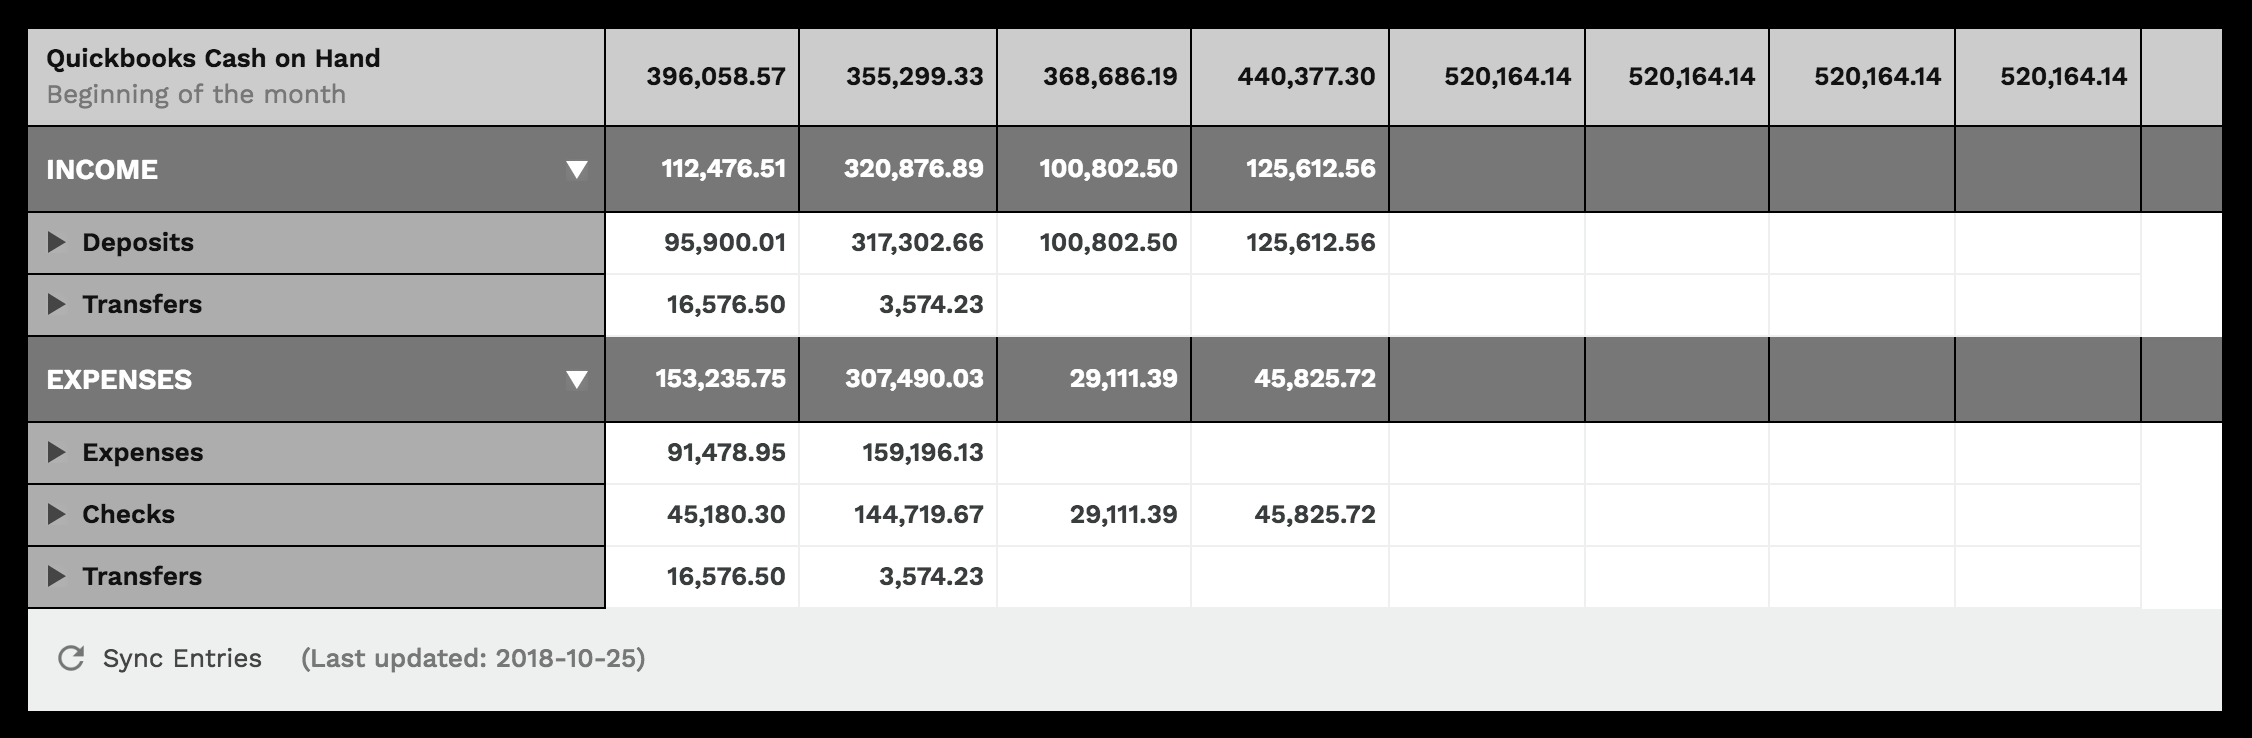
You'll notice the layout of your Cash Flow by Month view has changed a little bit. Now, the transactions you've entered into Pulse are all inside a table titled "Pulse Cash on Hand". Below that table, there's a table titled "QuickBooks Cash on Hand" that will contain the past three months of QBO data.
QBO Data
Pulse fetches the following types of transactions from your QBO account:
Payment
Sales Receipt
Deposit
Bill Payment
Bill Payment (Credit Card)
Bill Payment (Cash)
Bill Payment (Check)
Expense
Cash Expense
Credit Card Expense
Check
Vendor Credit
Credit Card Credit
Refund
Sales Tax Payment
Payroll Check
Transfer
Effects on Historical Pulse Entries
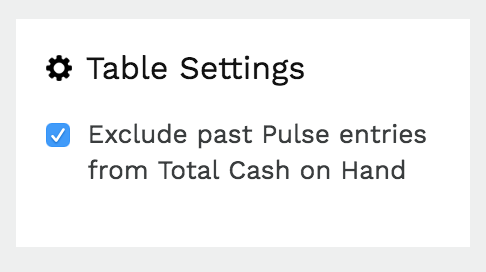
If you've been using Pulse for awhile, you'll have many transactions in the past that may conflict with the data from QuickBooks. To fix this, locate the checkbox at the bottom of the right sidebar on your Cash Flow by Month view. You'll see the option to "Exclude past Pulse entries from Total Cash on Hand". This means that Pulse will only calculate entries with dates in the future into your "Total Cash on Hand" numbers.
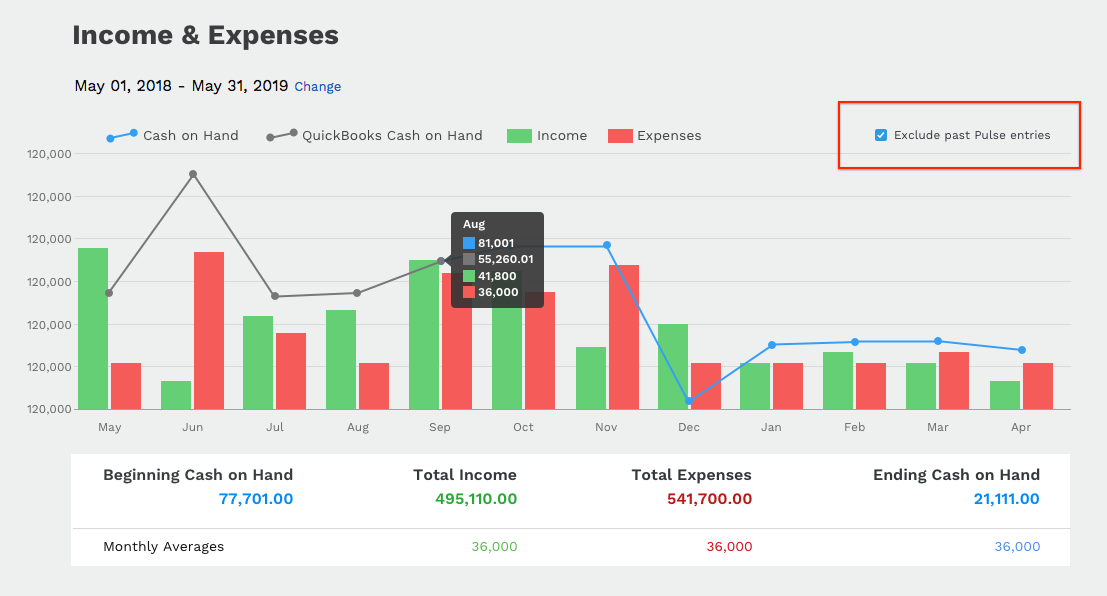
You'll also see this checkbox on the Reports > Income and Expense Report. The QBO Cash on Hand is represented by a dark blue line, and your Pulse Projections are represented by a gray line. You can exclude those past entries here as well to maintain a more accurate picture of your total cash on hand.
The blue Pulseline now represents your total cash on hand, and will factor in actuals from QBO plus your Pulse projections.
Additional Settings
You can now manage which QBO accounts show up in your Cash Flow and Report views inside of your Settings. Go to Settings, then click "Financial Accounts" in the right sidebar. Then click "Edit" next to your connected QBO account. You'll see the option to enable and disable individual accounts and assign colors to them.
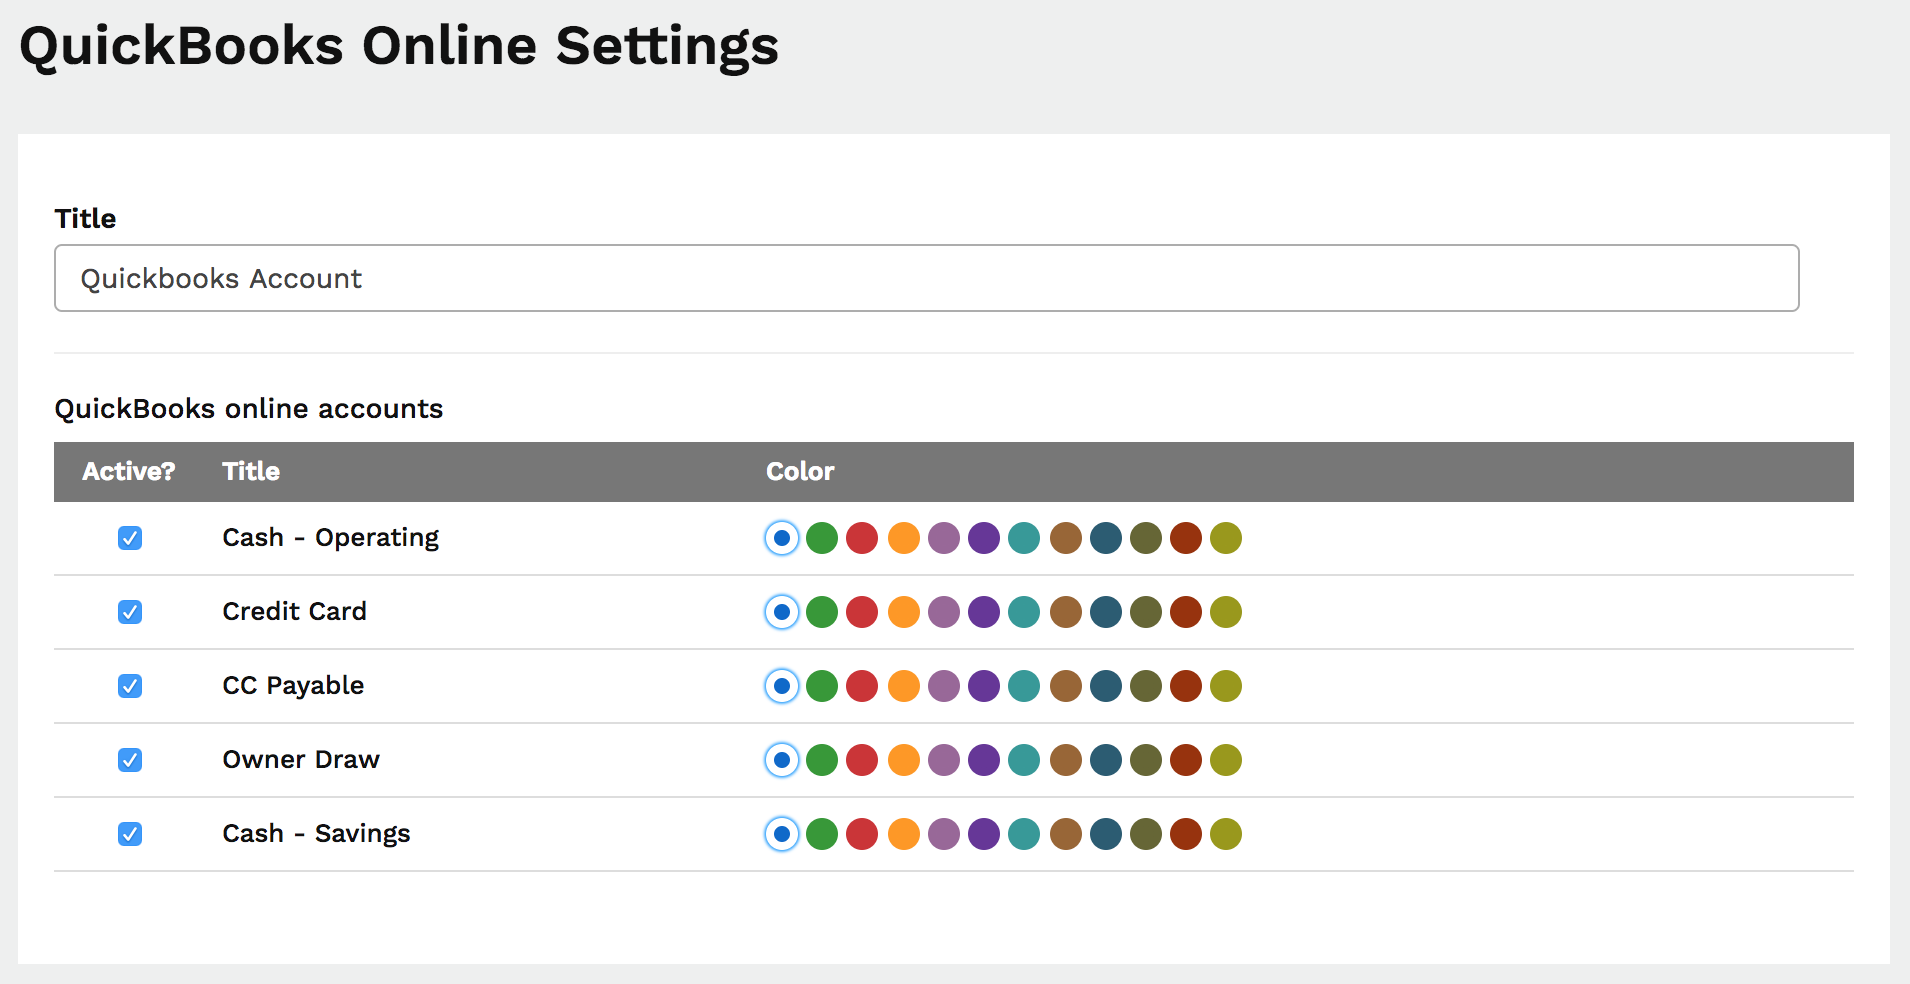
Color-coding your QBO accounts helps make the Cash Flow by Month view easier to scan for entries, since sometimes there may be several entries within one transaction type.
Syncing QBO Data
To pull in the latest data from your QBO account, simply click "Sync Entries" at the bottom of the QuickBooks Cash on Hand table.
